

")
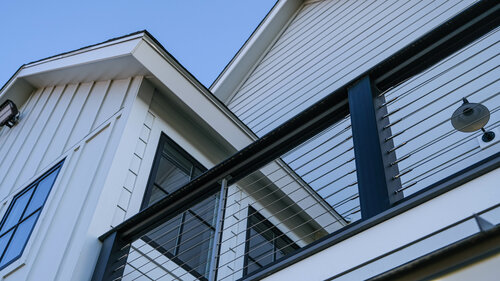
Siding is essential to your home’s exterior. It protects the house and gives the foundation a sleek, beautiful look. However, if your siding is damaged, it is possible that water damage and foundation damage can occur. To prevent excessive damage, here are seven steps on how to replace home siding that you should consider:
Step 1: Evaluate Your Current Siding
Before you start replacing the siding, you should evaluate its condition. If there are any signs of damage, such as cracks, chips or dents in the exterior panels, it may be time to replace your siding. One factor to consider is the age of your siding can also be beneficial when evaluating your current siding. If your siding hasn’t been replaced in a long period of time, it may be in the homeowner’s best interest to replace the siding for safety and energy-efficient reasons.
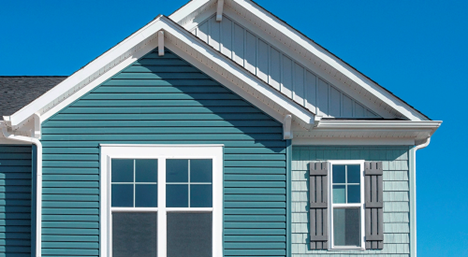
Step 2: Choose the Material
With a wide range of materials, it is important that homeowners become aware of the benefits and drawbacks of each siding option. A few of the more popular siding materials include vinyl, fiber cement, wood and metal. Before choosing a siding material, homeowners should consider the values of the material, average cost and obtainability of the material.
Step 3: Measure Your Home
Once you choose the siding material, you will need to measure your home to determine how much siding is necessary. First, measure the height and width of each wall and multiply the two numbers to get the square footage. Next, add up the square footage of each wall to get the total square footage of your home’s exterior. Finally, add 10 percent to your total square footage to account for waste and cuts.
Step 4: Remove Old Siding
Before you can install new siding, you will need to remove the old siding. This can be time-consuming and challenging, but it is an essential part of the task. For easy teardown, use a pry bar and start at the top and work your way down. Just be careful not to damage the exterior of your home.
Step 5: Install Insulation
Once the old siding is removed, it is essential to install insulation to improve your home’s energy efficiency. This step is critical if your old siding needs to be insulated. Use a foam insulation board to cover your home’s exterior and spray foam to fill any gaps or cracks.
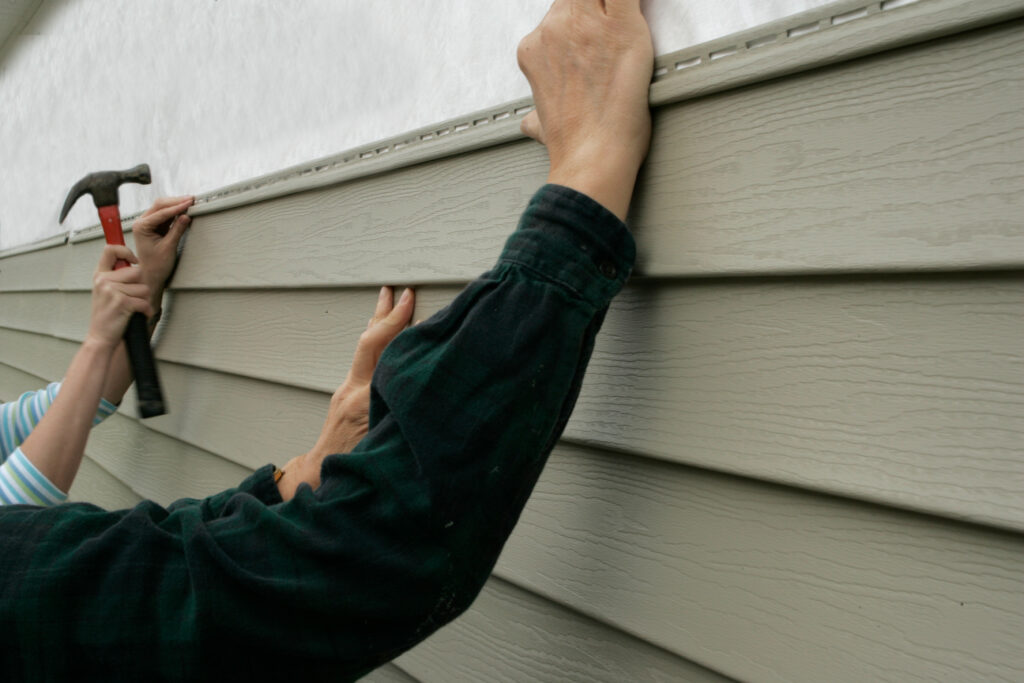
Step 6: Install New Siding
Once the insulation is in place, you can now install the new siding. For the best results, follow the manufacturer’s instructions to ensure that the siding is installed correctly. Start at the bottom of the wall and work your way up. To make sure that the panels are straight, it is recommended to use a level and a nail gun when attaching the siding to the wall.
Step 7: Finish and Clean Up
Once the new siding is installed, it is optional for homeowners to add trim or paint. Afterward, be sure to clean up any debris and dispose of the old siding.
Replacing your siding can be a time-consuming task, but it is essential to ensure that your home is safe from the elements and looks good. Following these steps can replace your siding and improve your home’s overall appearance and energy efficiency.


")