

")
What Are the Steps I Need to Take When I’m Getting My Windows Replaced?
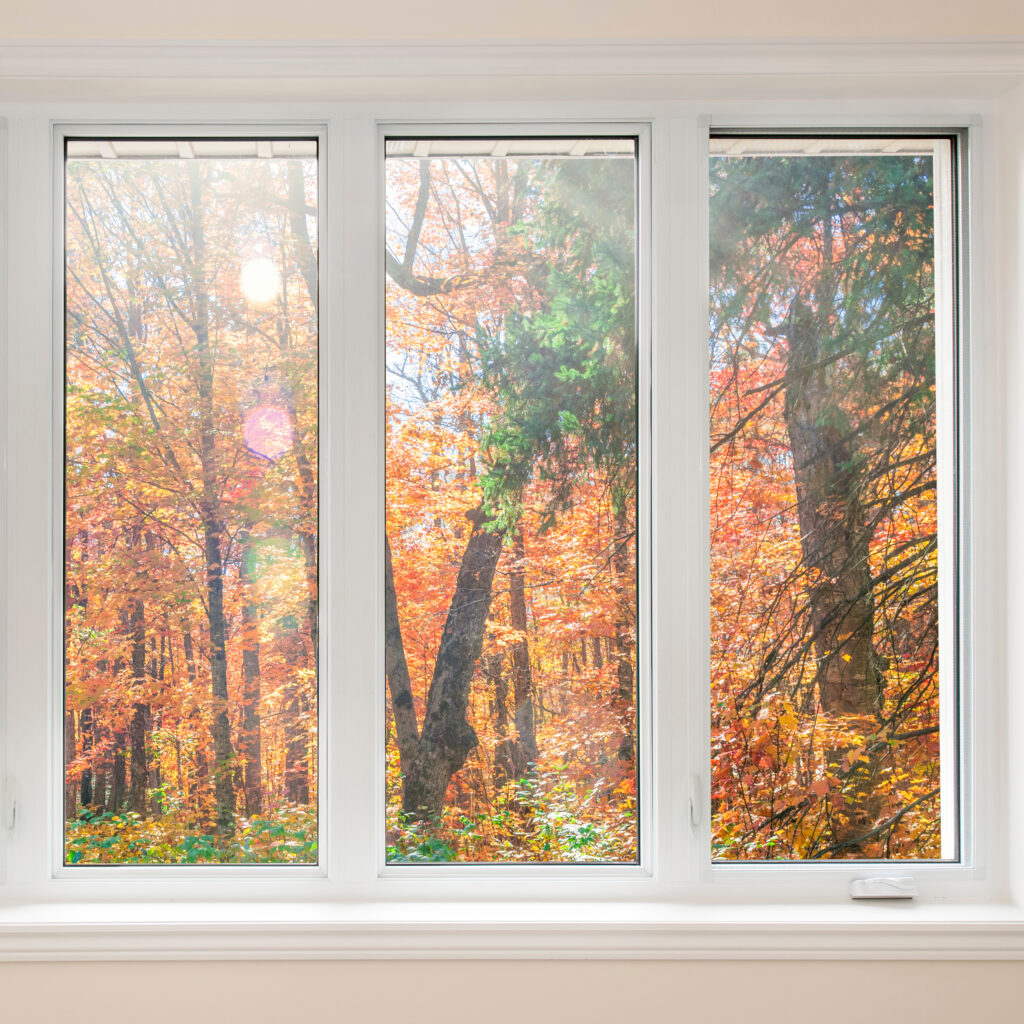
Replacing the windows in your home can be a big investment that improves energy efficiency, enhances curb appeal, and boosts your home’s value. However, the process of window replacement can seem overwhelming if you’re not sure where to start. From choosing the right windows to preparing your home for installation, there are several key steps you should follow to make sure you have a smooth window replacement.
1. Assess Your Window Needs
The first step in replacing your windows is seeing why you need new ones. Common reasons for window replacement include:
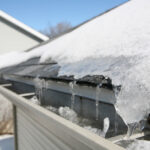
- Energy inefficiency: If your current windows are drafty, causing higher energy bills.
- Damage: If your windows are cracked, warped, or damaged beyond repair.
- Aesthetic update: You might want to upgrade the appearance of your home with more modern window styles.
- Noise reduction: High-quality windows can help reduce external noise.
Once you’ve identified the reason for your replacement, you’ll have a better idea of the type of windows you need.
2. Choose the Right Window Type
There are various types of windows to choose from, each with its own benefits. The most common window styles include:
- Double-hung windows: Popular for their versatility, these windows open from both the top and bottom sashes.
- Casement windows: Hinged on one side, these windows swing open like a door, allowing maximum ventilation.
- Sliding windows: These windows glide horizontally and are great for wide openings.
- Bay or bow windows: These large, multi-panel windows create a sense of space and are often used for aesthetic appeal.
When choosing your windows, consider factors such as energy efficiency, material (vinyl, wood, aluminum), and design. It’s important to choose windows that not only fit your home’s style but also offer the features you need.
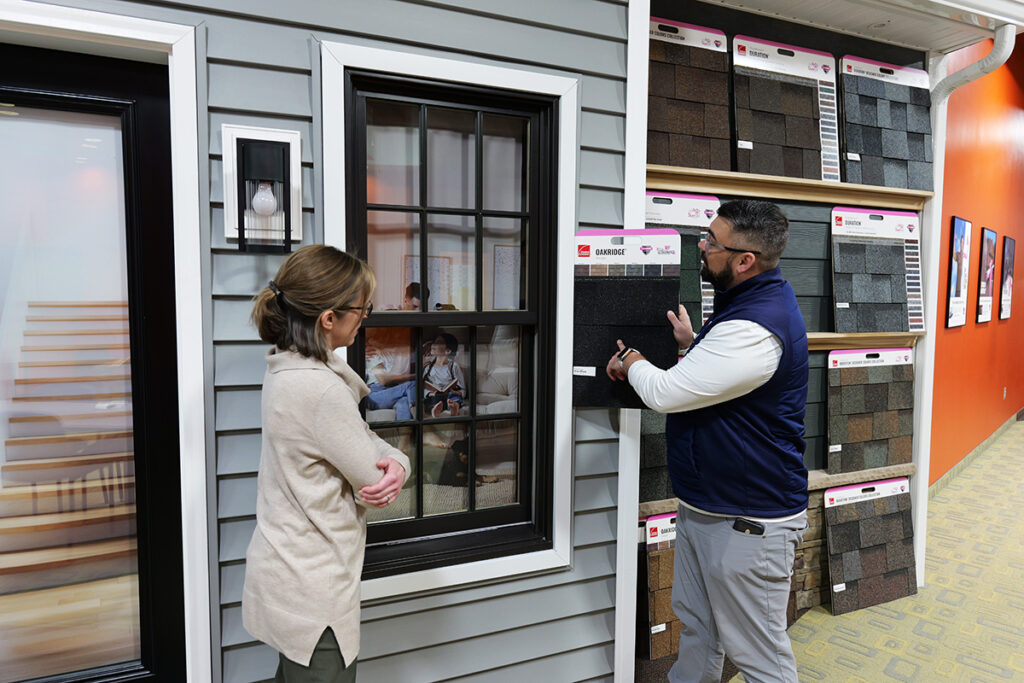
3. Get a Professional Assessment
Before purchasing new windows, consult with a professional window contractor to assess your home’s specific needs. They’ll help you determine the best types of windows for your home and provide you with an accurate estimate for the project.
A contractor will also identify any potential issues, such as structural damage, that need to be addressed before installation. An assessment ensures that you get windows that fit properly and offer maximum performance.
4. Plan Your Budget
Replacing windows can be a costly investment, but it’s important to plan your budget carefully. Your window replacement cost will vary depending on the type of windows, materials, and the scope of the project.
To avoid surprises, get multiple quotes from reputable contractors, and make sure to account for additional costs such as labor, disposal of old windows, and any repairs needed to your window frames or surrounding areas.
5. Schedule the Installation
Once you’ve chosen your windows and a contractor, it’s time to schedule the installation. Depending on the size of your home and the number of windows being replaced, installation can take anywhere from one day to several days.
Ensure that you understand the contractor’s timeline, including any potential delays due to weather or other factors.
6. Prepare Your Home for Installation
Preparing your home for the installation process will help things go smoothly and protect your belongings. Here are a few steps to follow:
- Clear the area around windows: Move furniture, curtains, and blinds away from windows to provide easy access for the installers.
- Cover floors and furniture: Protect your floors and furniture from dust and debris by using drop cloths or plastic sheeting.
- Remove wall hangings: Take down any pictures or decorations near the windows being replaced to prevent damage during installation.
- Plan for noise and disruption: Window installation can be noisy, so consider making alternative arrangements for pets or family members who may be sensitive to the noise.
7. Window Installation Process
On installation day, your contractor will follow a series of steps to ensure your new windows are installed correctly:
- Remove old windows: The installers will carefully remove the existing windows without damaging the surrounding structure.
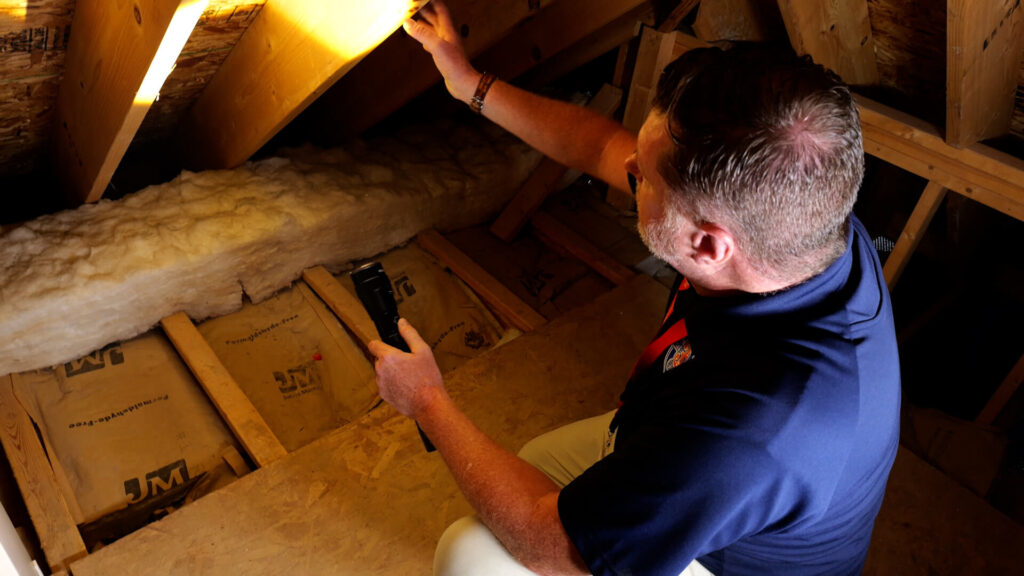
- Inspect and repair frames: Once the old windows are removed, the installer will inspect the window frame for any signs of rot or damage. If needed, repairs will be made to ensure the frame is structurally sound.
- Install new windows: The new windows will be carefully placed into the opening and leveled. The installer will secure them with screws and use insulation to seal any gaps around the frame.
- Seal and finish: The windows will be sealed with caulk to prevent air or water from entering your home. The installers will also add any necessary trim or finishing touches.
- Clean-up: After installation, the crew will clean up any debris, furthermore leaving your home as tidy as they found it.
8. Final Inspection and Maintenance Tips
Once the installation is complete, walk through your home with the contractor to inspect the windows and ensure everything is installed to your satisfaction. Check for smooth operation, proper sealing, and any signs of gaps or damage.
The contractor should also provide you with care and maintenance instructions to keep your windows in optimal condition. Regularly cleaning your windows, inspecting for damage, and ensuring proper insulation will help extend their lifespan and also maintain energy efficiency.
Conclusion
Replacing your windows may seem like a daunting task, but following these steps will make the process smoother and more manageable. From choosing the right window style to preparing your home for installation, each step is essential in ensuring that your new windows enhance your home’s comfort, energy efficiency, and curb appeal. If you’re ready to upgrade your windows, reach out to a trusted home improvement professional to get started on your project today.


")