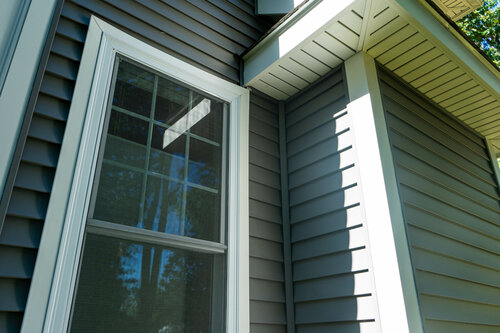
If you want to replace a window, vinyl is one of the most common materials. Vinyl windows are made of PVC and are highly durable and flexible. Especially if you live where the temperature fluctuates from hot to cold, the flexibility of vinyl allows for some movement without cracking or misshaping the window. Installing vinyl windows is also less expensive, so many want to learn how to do it.
Here are seven steps on how to install a vinyl window:
Step 1: Prepare the window frame
Before installing vinyl windows, inspect the existing frame for any damages, such as rot, mold, splitting or other issues. Then, you can remove the current window frame by detaching the slider and the fix.

Step 2: Review the materials
There are three types of vinyl windows: standard, composite and engineered. If you want longevity, you will want engineered or composite vinyl. On the other hand, if you are looking for a window replacement for a short time, then a standard vinyl should meet your needs.
Step 3: Measure the frame
The original frame’s measurements will typically fit a vinyl window of a standard size. Still, to ensure there are no issues fitting the frame, you will need to start by measuring the opposite corners diagonally to ensure they are a quarter-inch of each other.
Then plumb, by measuring the frame’s verticals, level the frame’s horizontal sides. And finally, square the frame to ensure all corners are 90 degrees. If the frame is out of plumb, not adequately leveled or not squared, this may cause issues such as improper sealing, a sagging open in a corner or even possible leakage.
Next, remove the window trim and adjust the frame with shims for a more accurate measurement. Remember, measuring the frame’s accuracy is essential, so you can easily fit the frame.
Step 4: Install the vinyl window
Once you decide what material fits your needs and have accurate measurements, you must test fit the window to determine whether the frame fits in the opening. When you are confident that the frame will fit, remove the window before caulking along the inside of the exterior window. Next, place the new vinyl window in the opening and center it. Leave space on either side of the window for installation and shims, if needed.

Step 5: Screw your frame
The screw holes within the tracks should be located near the bottom and top of the windows. Drill a pilot hole through the shims first. Then you can drive a 2-¼ inch screw into the frame. Remember, when screwing in your frame, to not over-tighten or the screw could pull the frame out of alignment.
Step 6: Insulate the window
When insulating, it is best to use foam. First, use painter’s tape to cover the inside of the window frame. Next, squeeze a small amount of expanding foam between the replacement and existing window frames. Once completely dry, remove the excess foam and the tape.
Step 7: Add finishing touches
Installing new window stops on the inside will complete the window’s appearance. Make sure these stops are substantial enough to bridge the space between the replacement window and the old frame for a finished appearance.
These seven steps should help you with installing vinyl windows. So, enjoy all the benefits of these windows. They will save you money with their long-lasting, energy-efficient effects.


